How to: Stencil a Badass Thing of Your Own Design
Maybe making your own clothes more unique appeals to you. Maybe you want a cheap way to personalise team shirts. Maybe you want to stencil Daenerys Targaryen’s face onto a pillow and sleep next to it. I don’t know. All I know is that with this how-to, you can easily (and affordably) stencil fabric, even with some pretty intricate detailing!
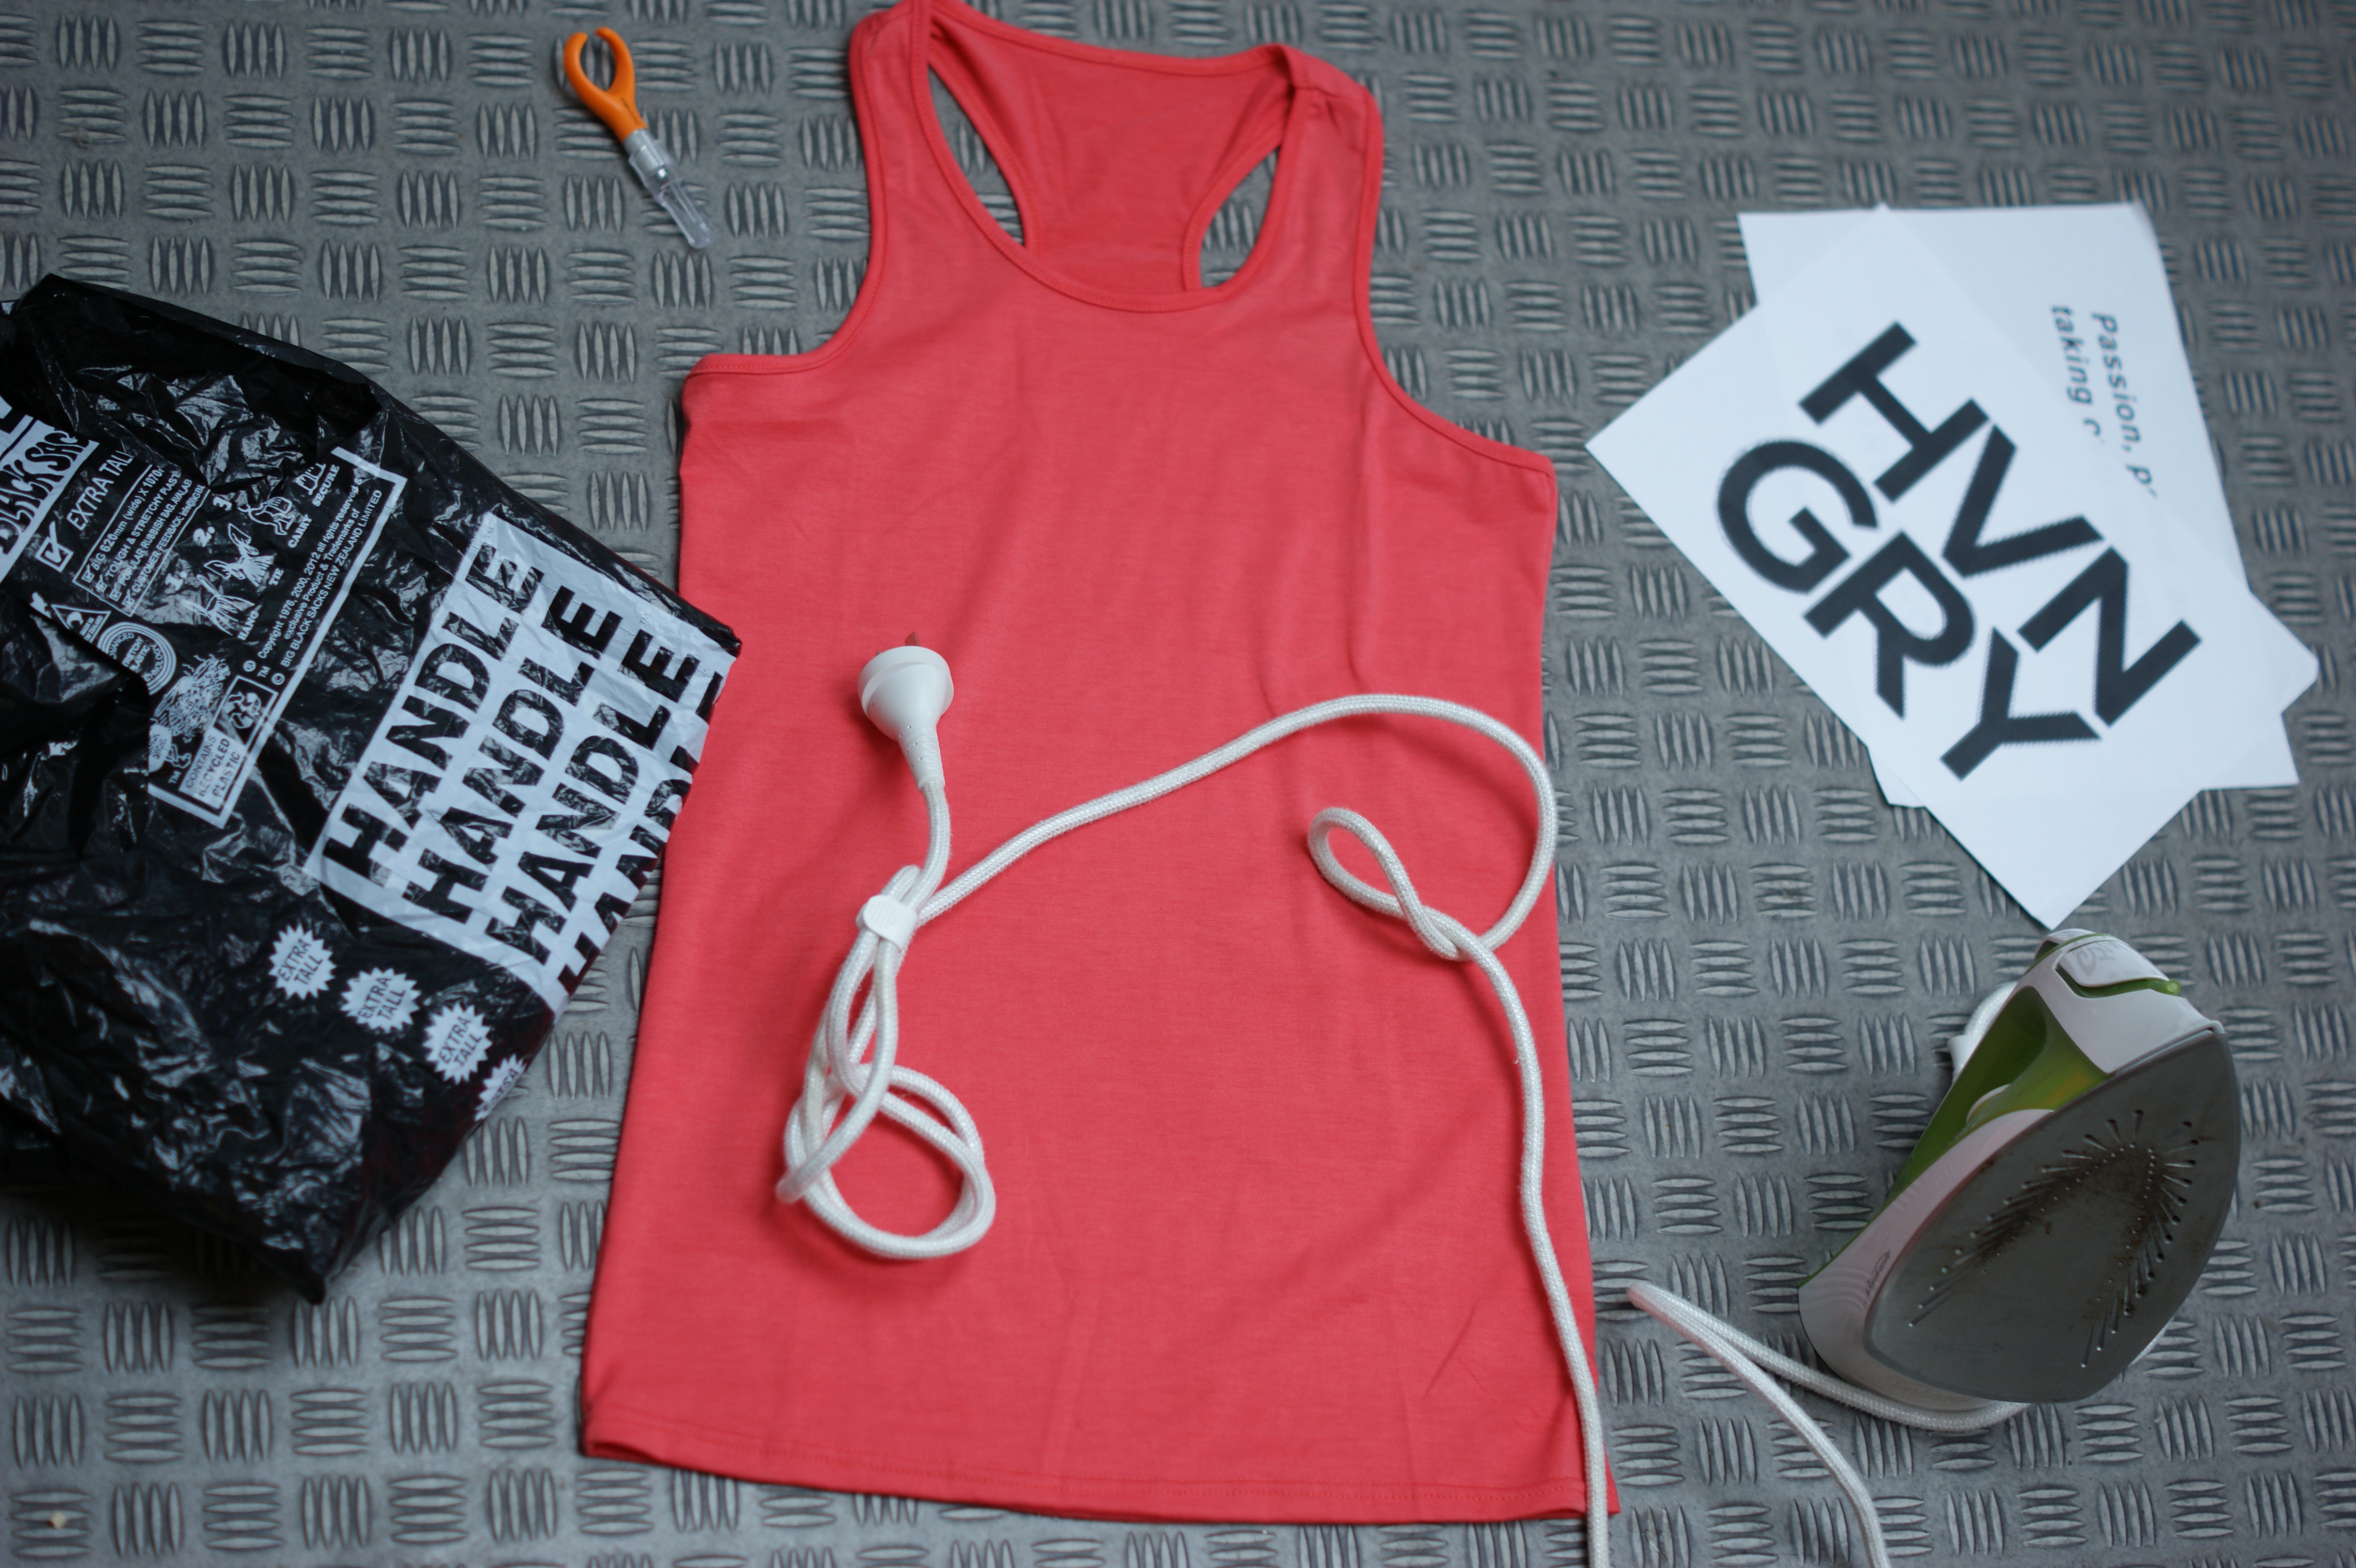
Here’s what you’ll need:
- A big black rubbish sack. They sell packs of 5 of these at Countdown for $1.69.
- Standard printer paper. You can print your stencil directly on this, or draw your own design. Up to you!
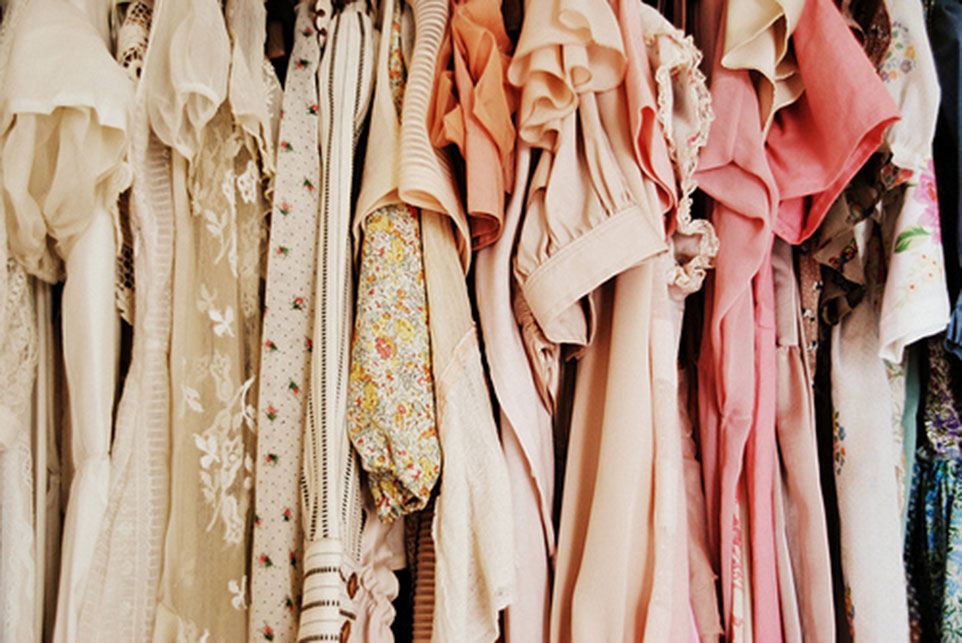
- Fabric to stencil onto. (This works best on fabric that isn’t going to be subjected to too much stretching, or you risk cracking your finished design. For a more durable masterpiece, pre-wash the fabric first). I used a plain singlet I had lying around.
- Fabric paint, if your creation is going to be going through the wash. The best value place that I’ve found to buy fabric paint is Trademe. If it’s just a quick job that you don’t mind never washing, it’s fine to use normal acrylic or spray paint.
Here’s what you’ll need access to:
- An iron
- A printer (unless you’re super crafty and plan to freehand draw the stencil)
- A cutter knife/ craft knife/ pen knife/ xacto knife, and scissors
- A paint brush, or sponge to dab paint on with, or just fingers (that's what I used...)
The Process:
1. Designing a Stencil
Bear in mind when designing a stencil that it’s easiest to stencil with only one colour paint. This means your stencil shouldn’t need shading in order to make the image understandable.
It’s also important to leave some blank paper around the edge of the stencil - when you iron on the rubbish sack backing, it will shrink, so it won’t go right out to the edges of the stencil.
Putting text on a stencil is really easy - Just type it up in word in the size and font you want, and print it off!
Otherwise, draw your design straight on.
2. Fusing the stencil
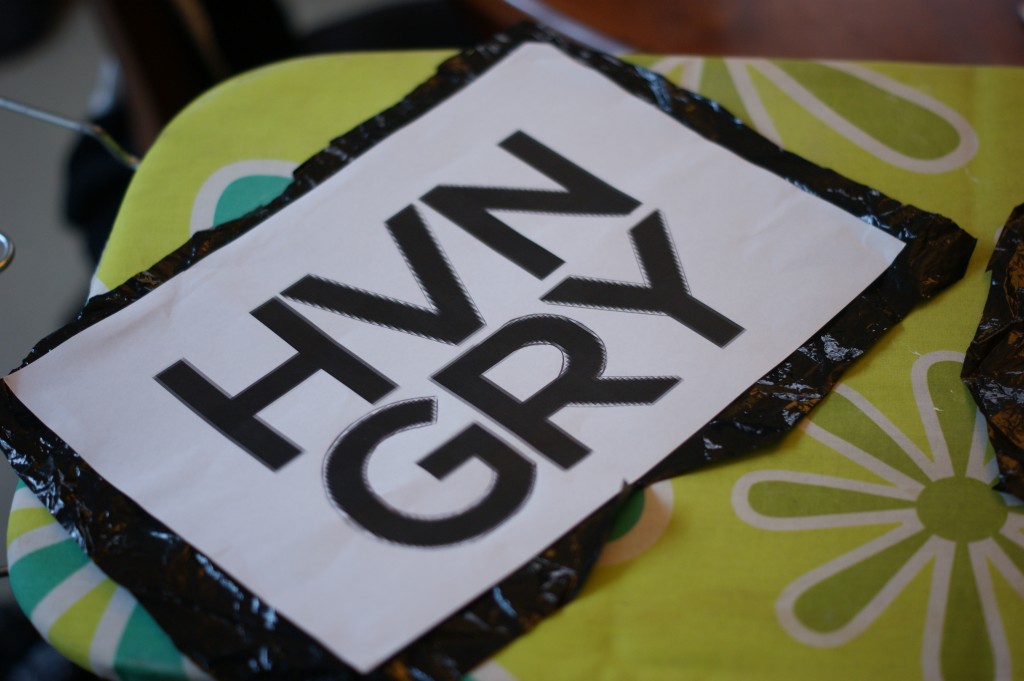
Chop a bit of the black rubbish sack so it’s the same size as your piece of paper
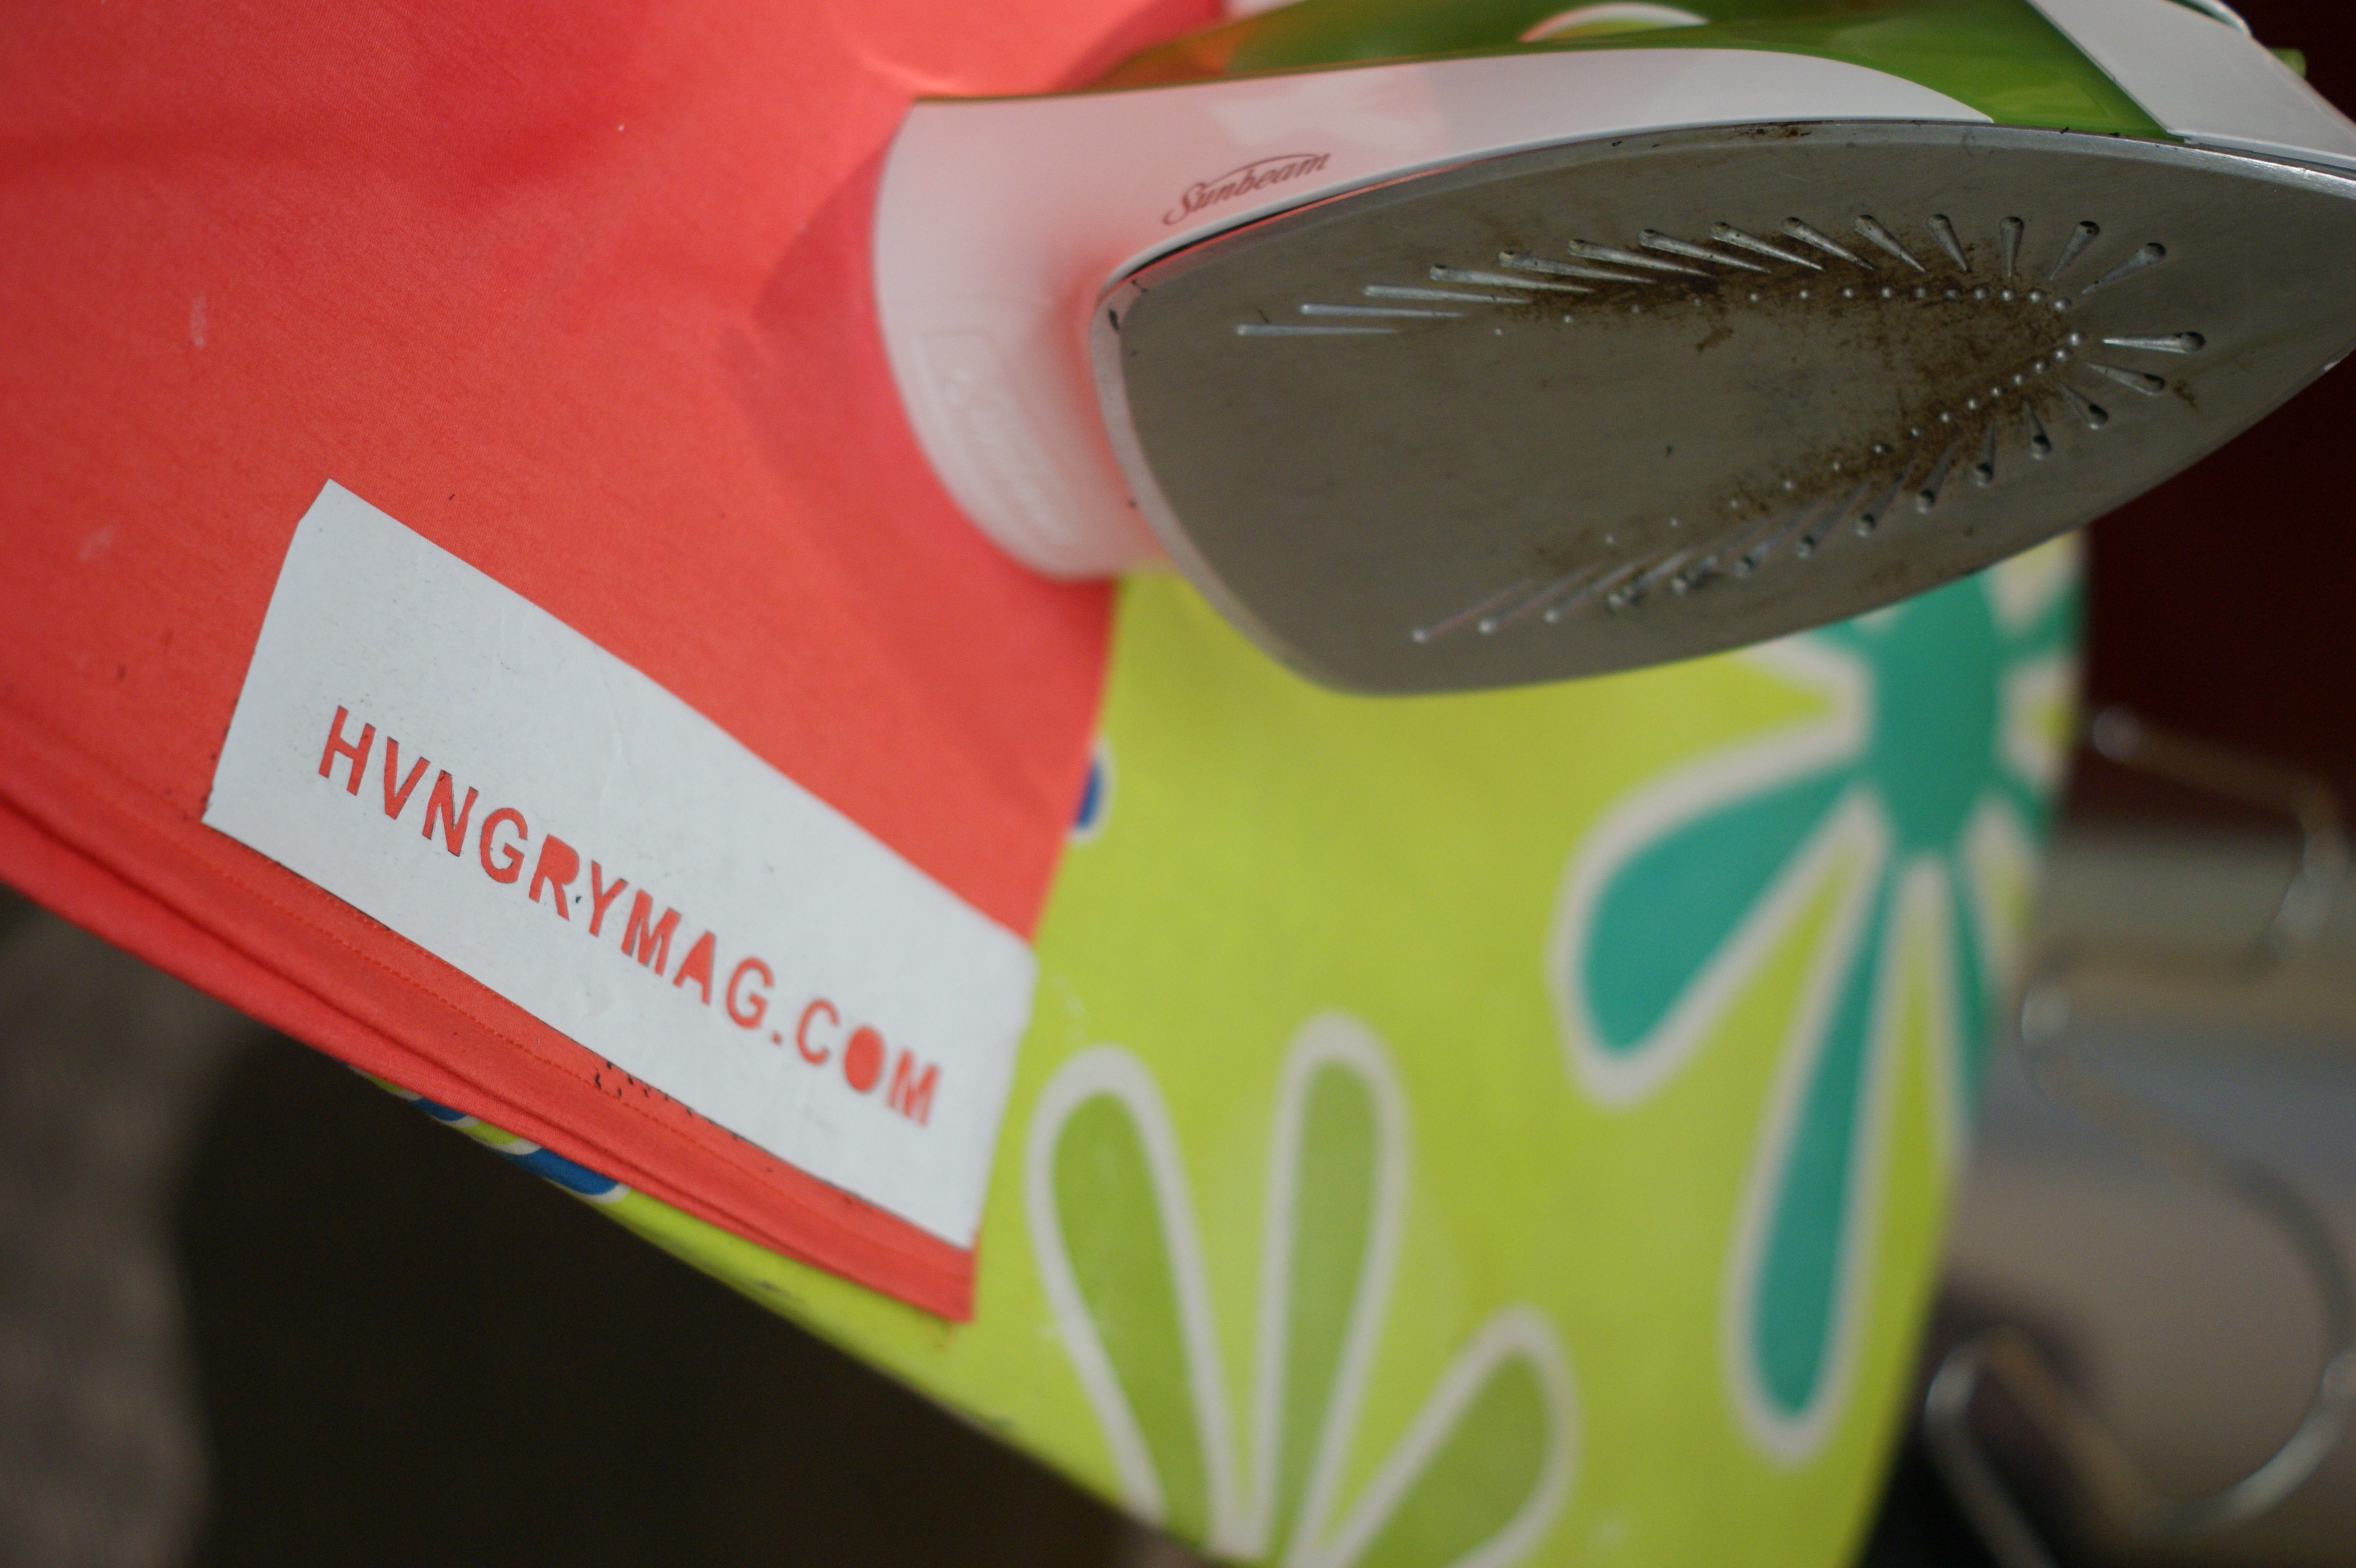
Put the paper over top of the piece of rubbish sack. Put your iron on middle heat, and iron on top of the paper (not letting the iron come into direct contact with the plastic); this should fuse the paper and plastic together. If it’s not working, turn the iron up slowly and keep trying.
Once the backing has fused and shrunk a bit, trim the edges so the paper and plastic are flush, and you can therefore iron right over the edges to get a decent fusion.
As the paper and plastic fuse with the heat, the paper might crinkle and curl a bit - this is fine; you’ll straighten it up later on.
After you’ve fused the paper and plastic together, turn it over and check for holes. It’s normal for little holes to form in the plastic; just chop off more rubbish bag, lay it over the hole, and iron again (from the paper side) until your holes are covered.

These are the little holes I meant!
3. Chopping the Stencil Out
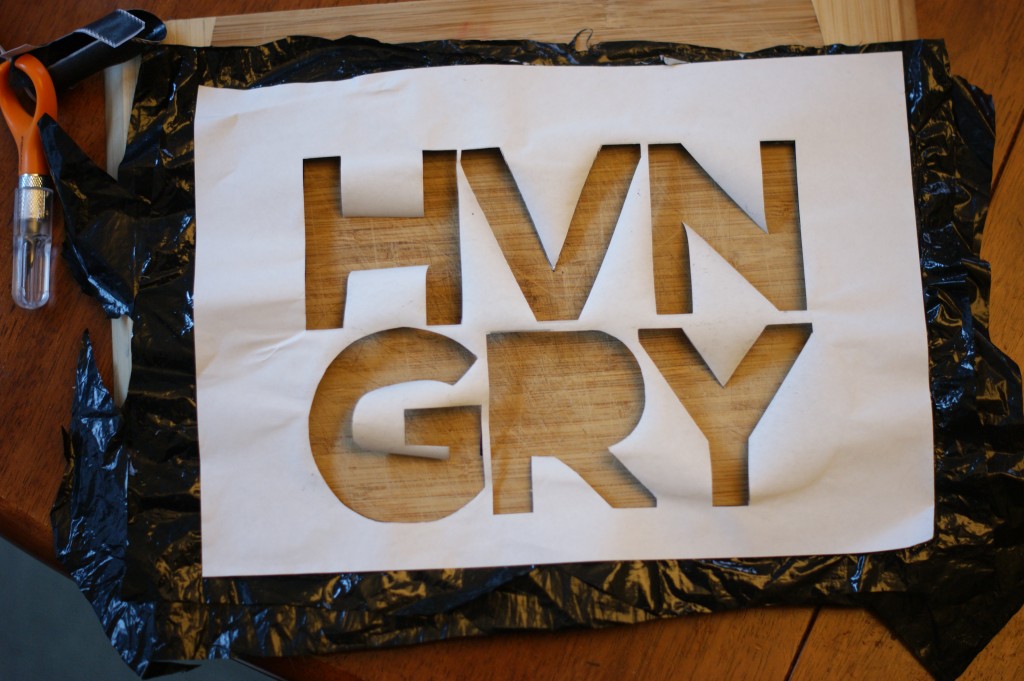
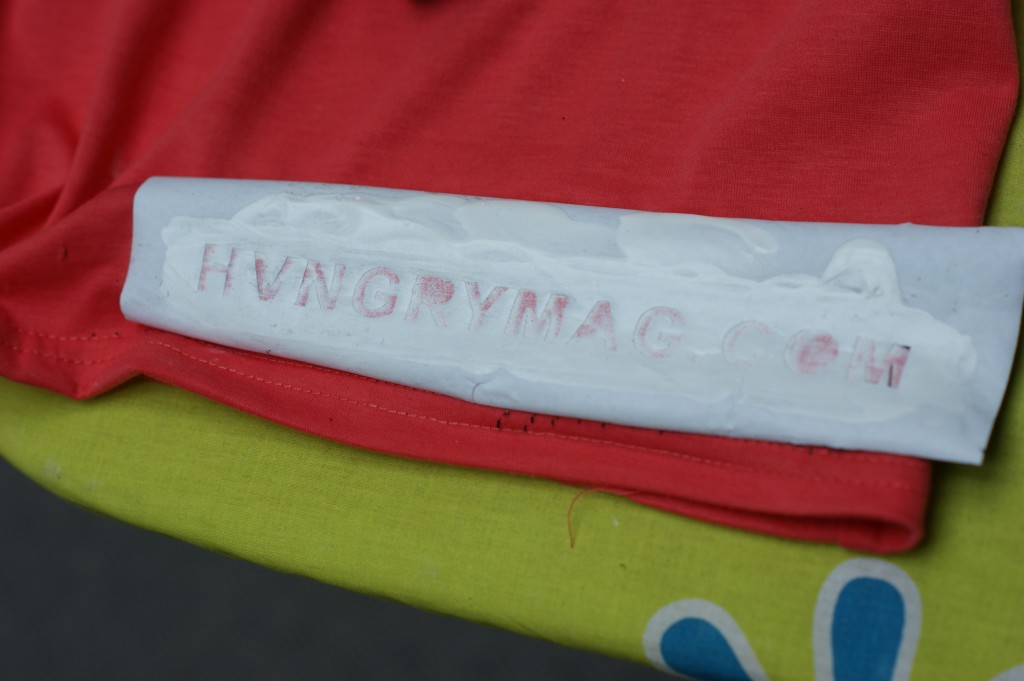
With your craft knife, cut out the stencil, going through both the paper and the plastic layers.
If you have 'floaty' bits, such as the holes in the middle of letters (for me, the inside of my 'R'), that's cool, save those parts and remember where they go.
4. Ironing on your Stencil
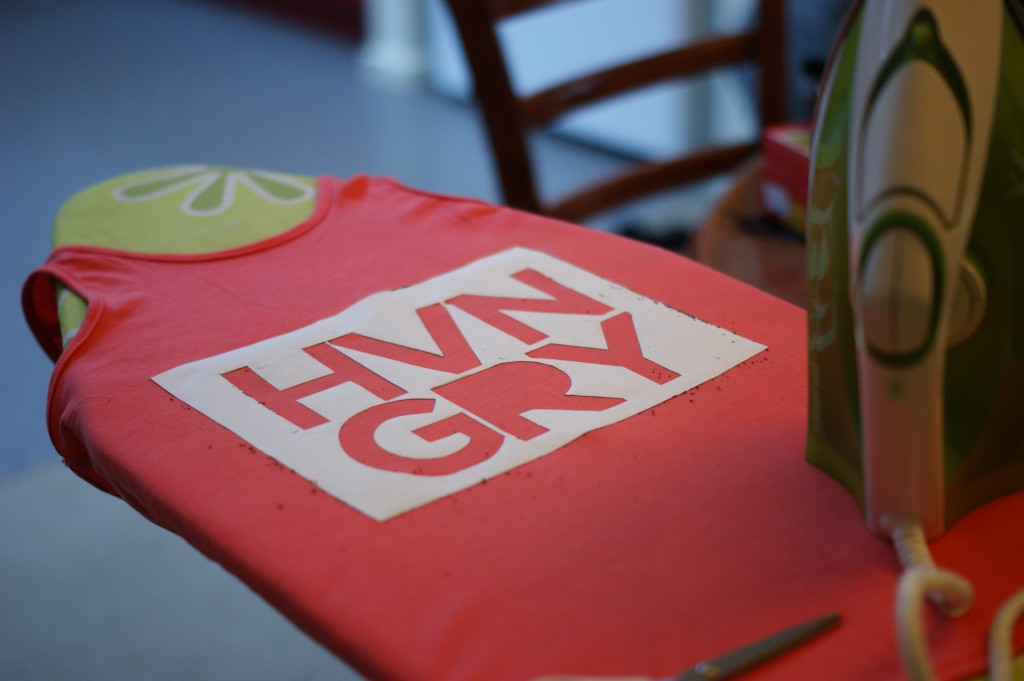
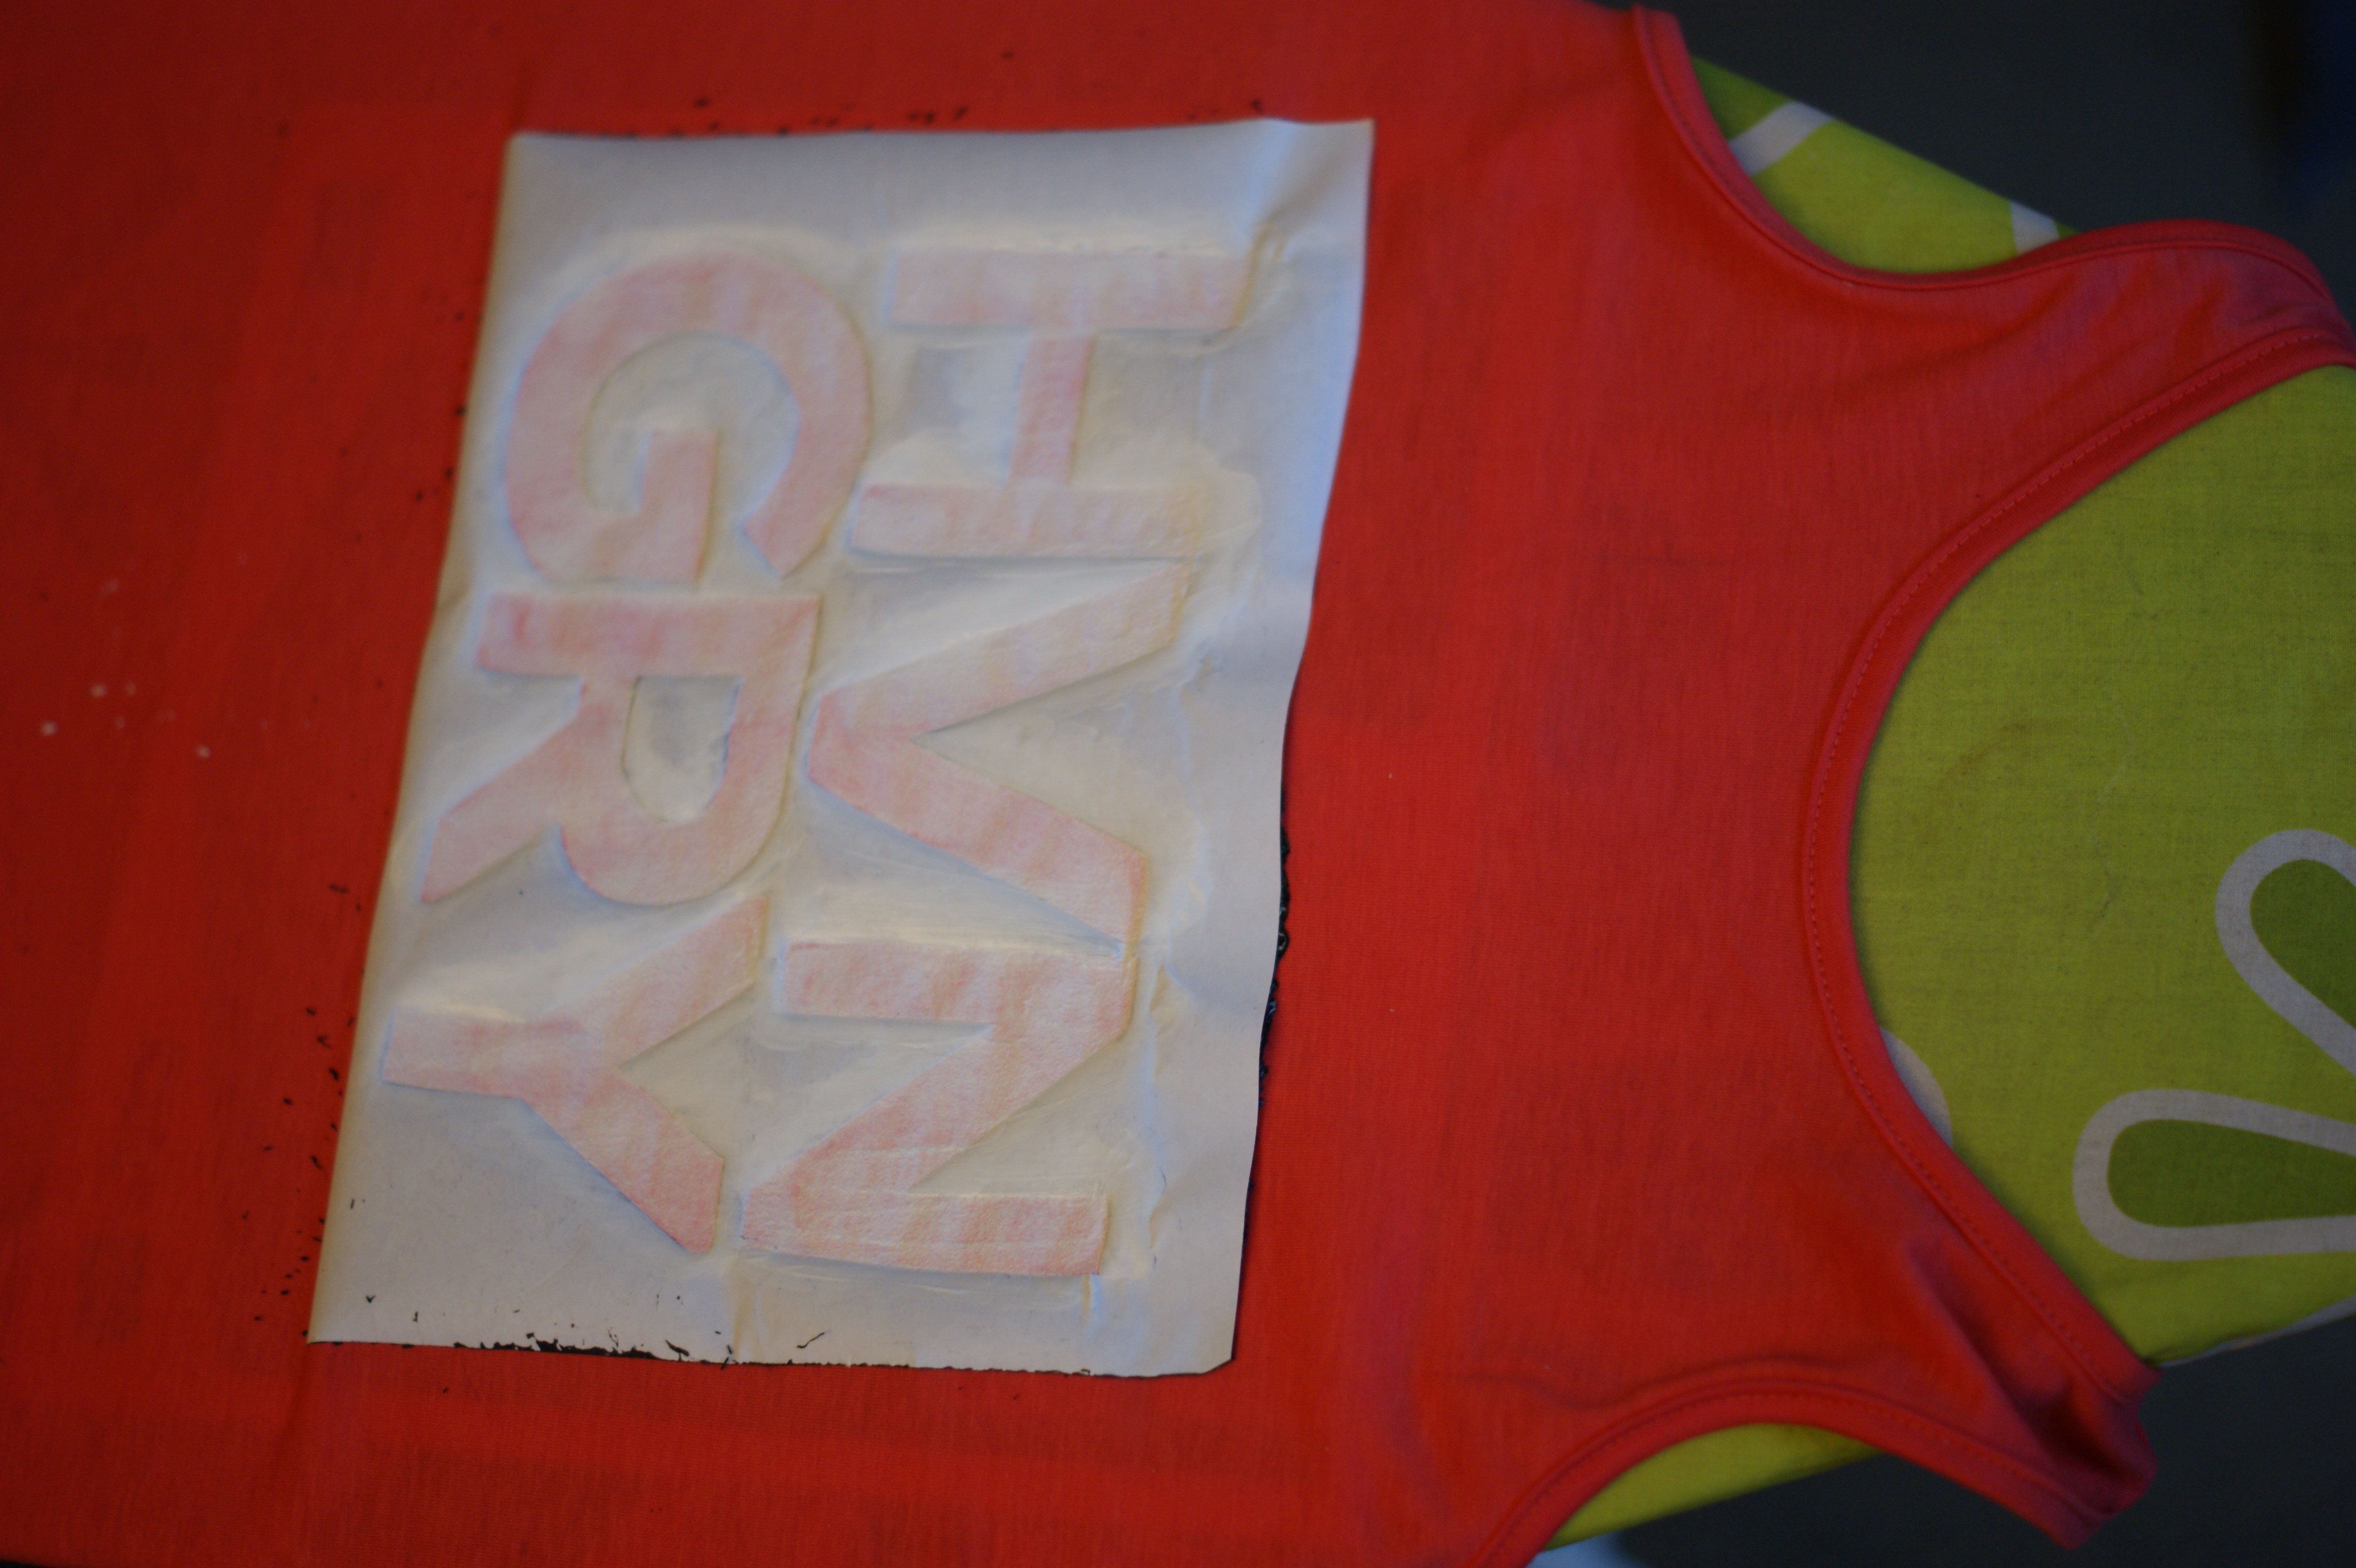
Now your stencil is ready to fuse onto your fabric. Place it where you want it, and slowly iron over it. The iron will probably need to be a little hotter than it was for fusing the paper and plastic.
Any of those floaty bits you had, lay them in place once you've fused on the main stencil, then iron them on too. Your stencil is ready for painting when none of the edges want to come away from the fabric. Sometimes this takes a lot of heat.
5. Painting!
 Make sure you've got something (like newspaper) protecting the back of your fabric so paint doesn't leak through, then cover your stencil with your paint.
Don't water the paint down, or it might absorb into the fabric under your stencil. A few layers of paint often looks nicer, use your own judgement. Wait for your paint to dry.
6. Peeling (the Fun Part)
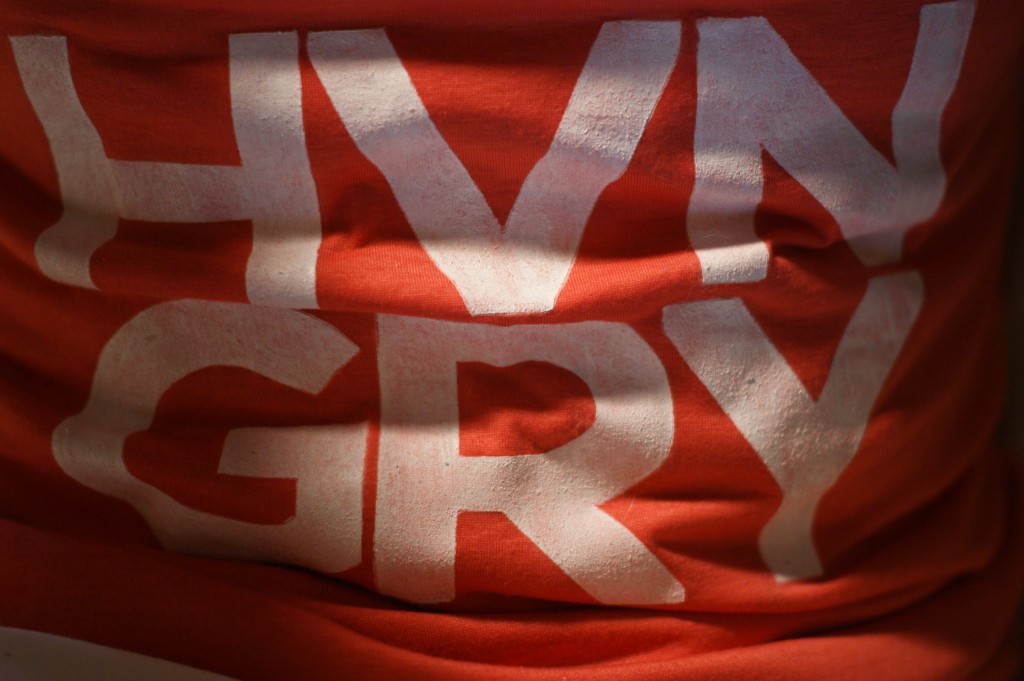
Look at those sweet sharp lines...
Once your paint is completely dried, you can peel off the stencil to reveal your rad design!
If there are little splodgy bits, and you're using a type of fabric paint that needs 'fixing' (check the instructioms), you can remove the splodges up with a little bit of soapy water. Then fix the paint according to it's instructions (sometimes this means more ironing).
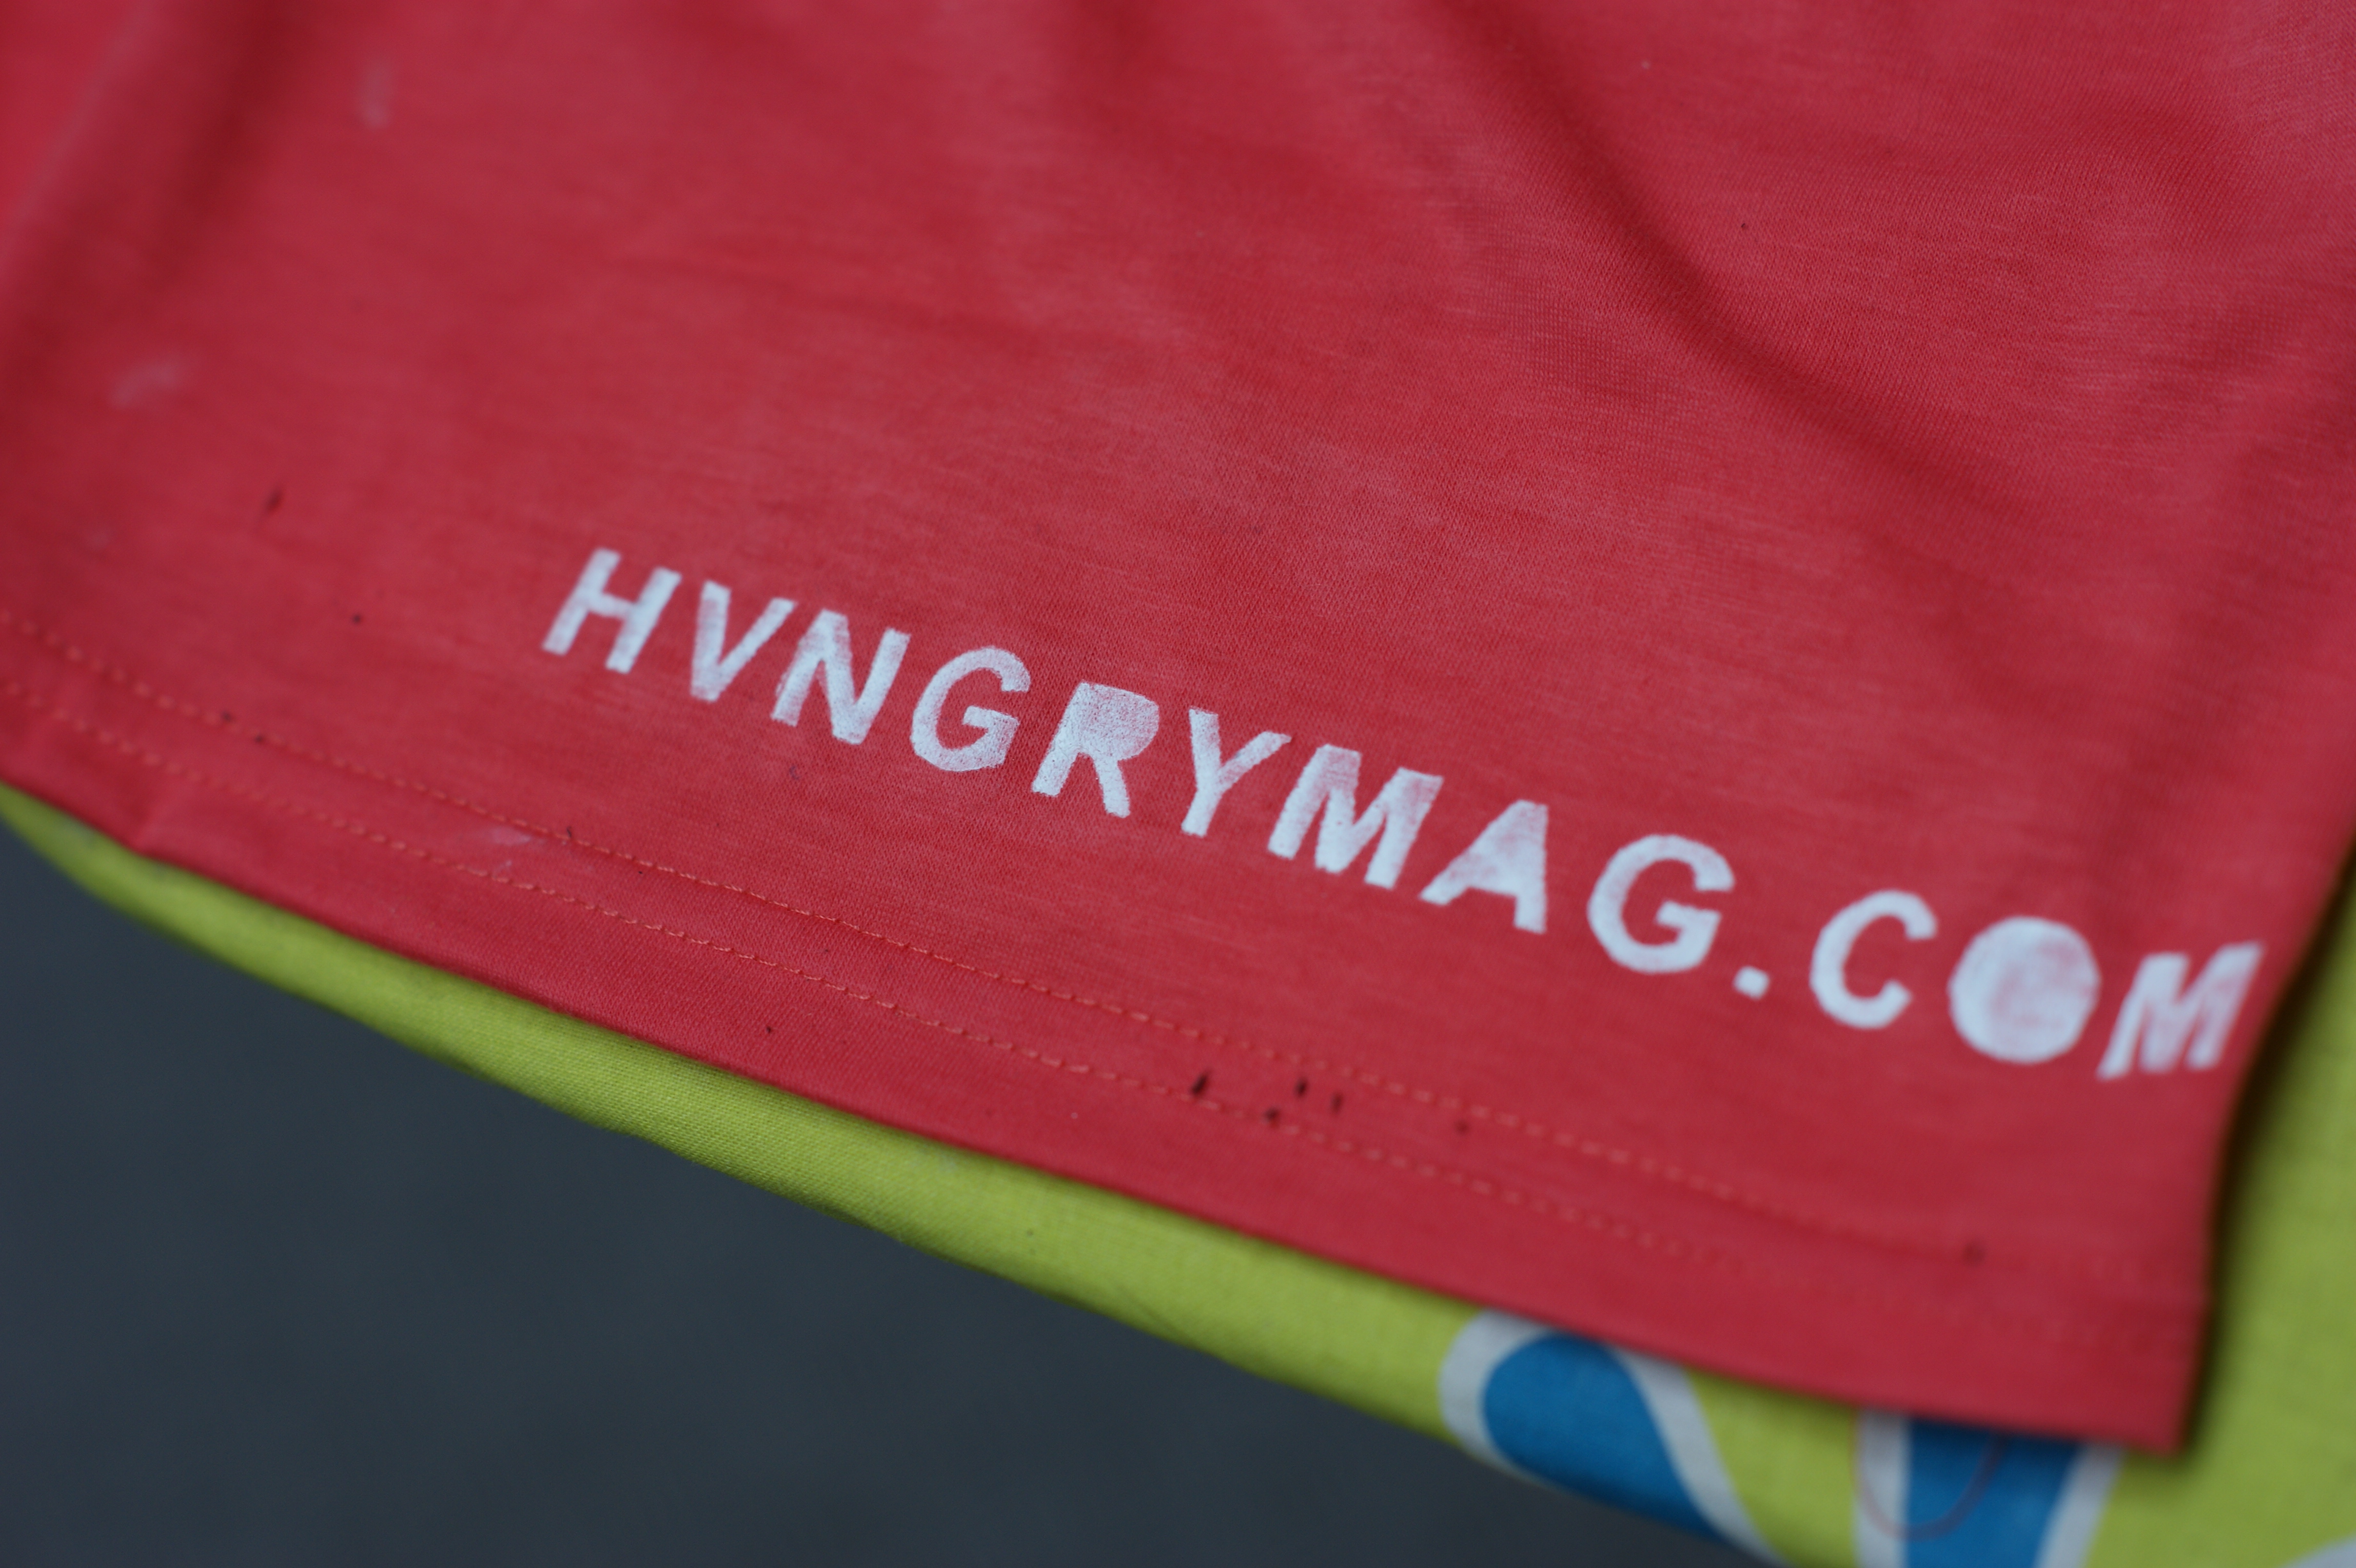
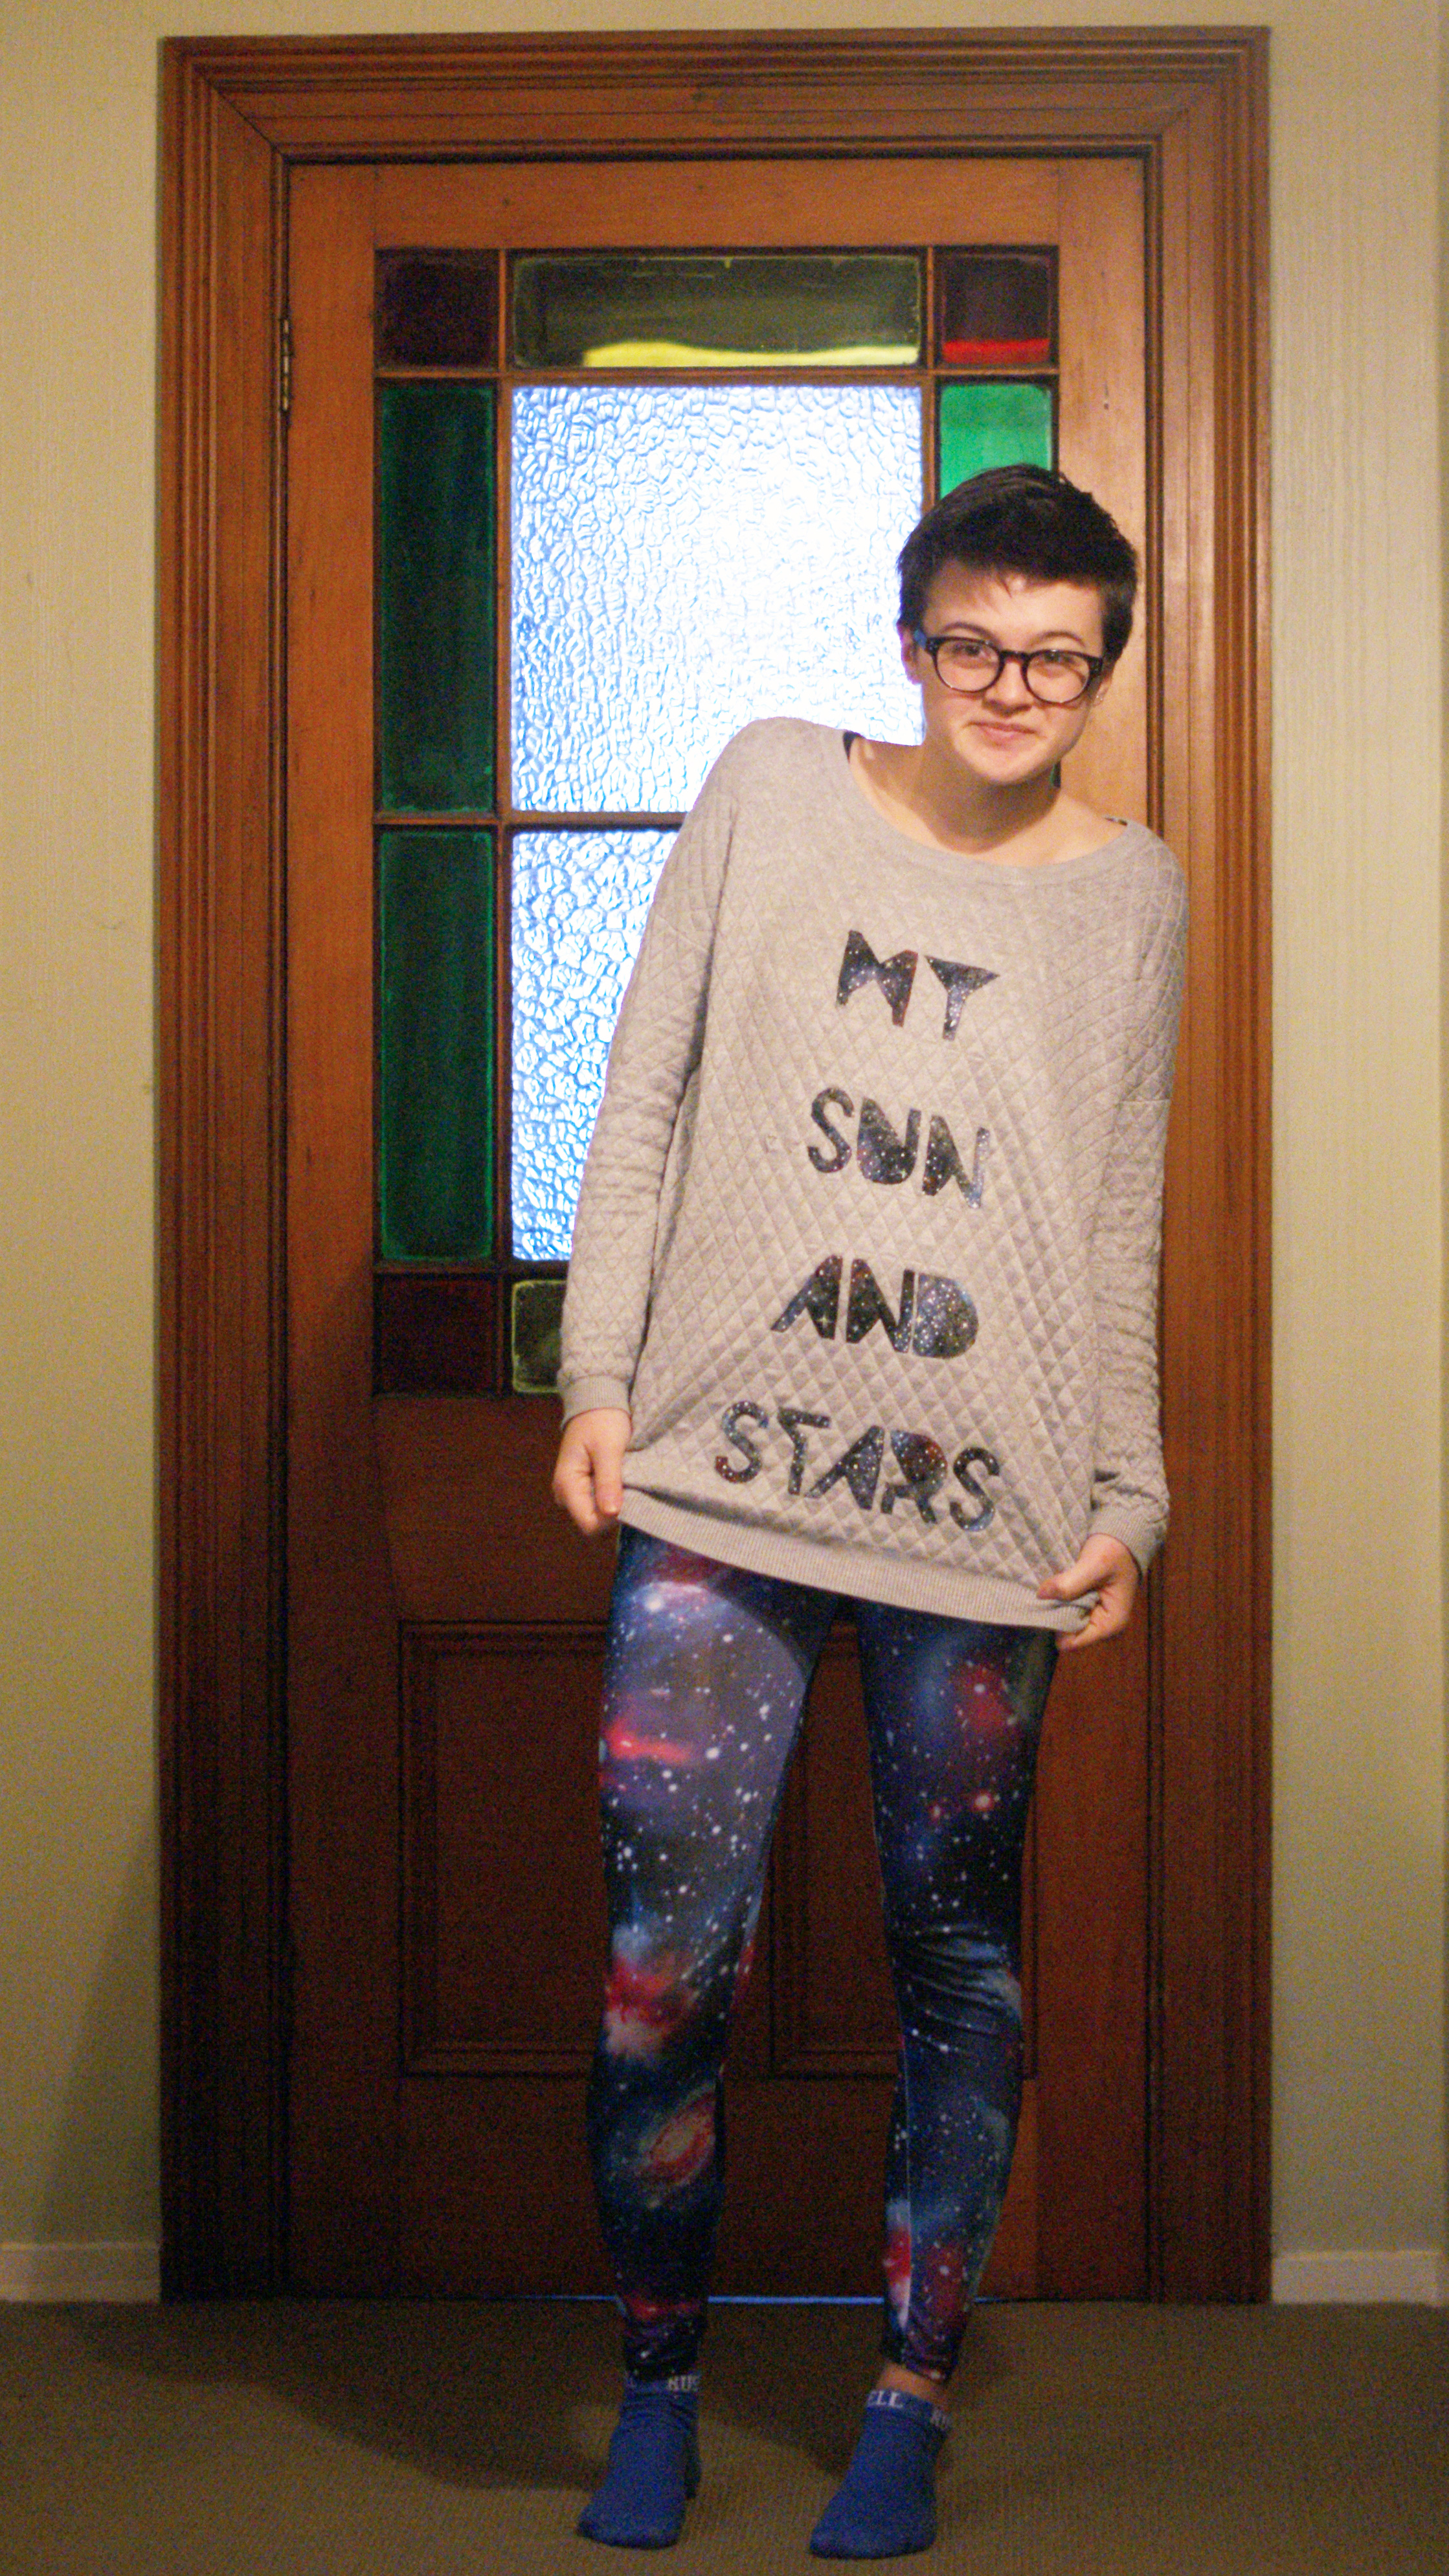
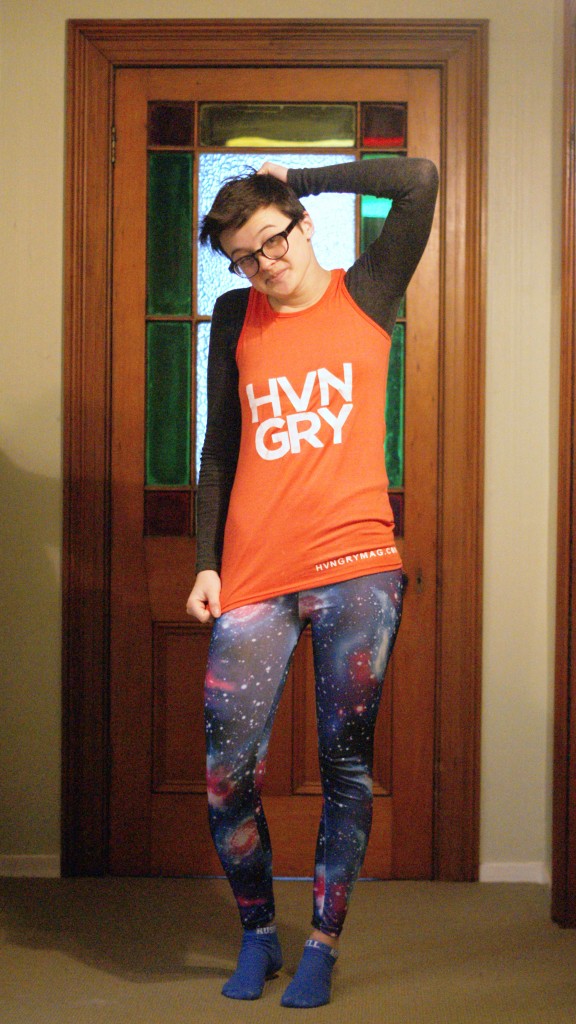
7. Rock your New Piece!
I bet you look awesome. I bet you're killing it. Go strut your stuff in your sweet original piece.
Here's some finished pics of me in mine, and a bonus of a stencil I did on a sweater. For that, I painted SPACE over a Game of Thrones quote, because that is the level of nerd that I am. Go hard! If you have any questions, drop me a comment and I'll do my best to help :D

▼